
Emergency Home Repair Kit and Preparedness Plan
Build a solid emergency home repair kit and preparedness plan to protect your home. Call (833)-439-3727 for contractor help.

By Leo Dawson
Learn more about Handyman for guides, costs, and what to expect.
Compare Handyman Pros Near You

Enter your ZIP code to compare top-rated local professionals and request free quotes.
Water pouring through the ceiling at 2 a.m. A pipe bursts behind the washing machine. The power goes out and the basement starts filling with storm runoff. In those moments, panic is natural, but preparation is what separates a manageable repair from a catastrophic loss. A well-stocked emergency home repair kit and a clear preparedness plan give you the tools and steps to act fast, protect your property, and document everything before help arrives. This guide covers the essential shutoffs, the supplies to gather, first-response steps for common crises, and how to work with emergency contractors when the situation demands professional help.
The Three Shutoffs Every Adult Should Know
Before you think about flashlights or tarps, locate and label three critical controls in your home: the main water shutoff, the gas shutoff, and the electrical panel. Knowing where these are and how to operate them turns a potential disaster into a controlled inconvenience. In an emergency, seconds matter, and fumbling in the dark for a valve you have never touched wastes precious time.
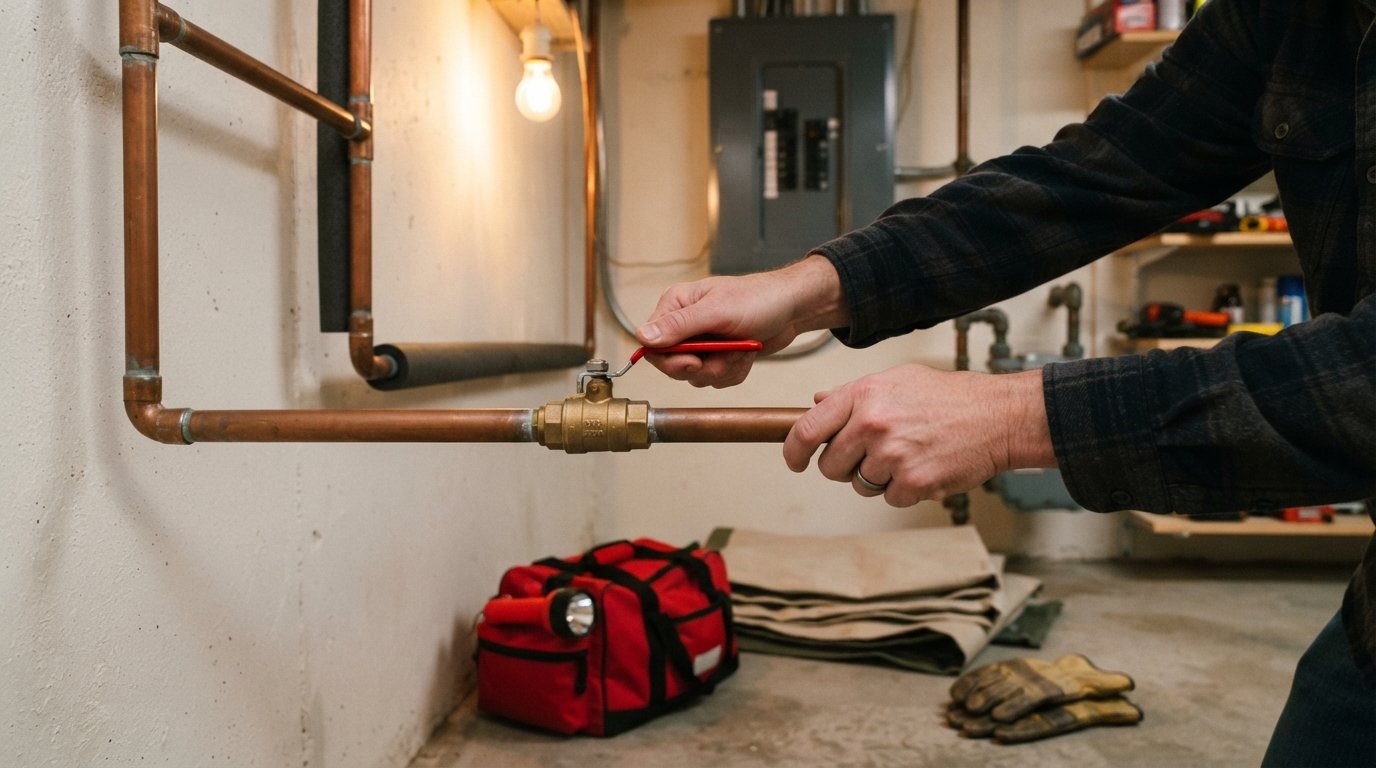
The main water shutoff is usually near the water meter or where the main line enters the house. It might be a gate valve (turn counterclockwise to close) or a ball valve (a quarter-turn lever). Test it once a year to ensure it is not frozen. For gas, the shutoff is typically at the meter; use a wrench to turn the valve a quarter turn so it is perpendicular to the pipe. Only shut off gas if you smell a leak or hear hissing, and never turn it back on yourself: call the utility. The electrical panel should have a main breaker that cuts all power; label each circuit clearly so you can shut off specific areas without plunging the whole house into darkness.
Teach every adult in the household where these shutoffs are and how to use them. Post a small diagram inside a kitchen cabinet or near the panel. In a crisis, muscle memory is your best ally.
Building Your Emergency Home Repair Kit
A dedicated kit, stored in a waterproof container and kept in a known location, saves you from scrambling through drawers for a wrench while water sprays across the floor. Your kit should cover plumbing, electrical, structural, and safety basics. Think of it as a first-aid box for the house: compact, organized, and ready to go.
Start with the tools you will reach for first: an adjustable wrench, pliers, a screwdriver set, a utility knife, and a hammer. Add a pipe wrench for plumbing emergencies and a cordless drill with bits for quick fixes. For temporary repairs, include a roll of duct tape, self-fusing silicone tape, plastic sheeting, tarps, and a staple gun. Electrical emergencies call for a voltage tester, wire nuts, and electrical tape. Safety gear is non-negotiable: work gloves, safety glasses, a headlamp, and a fire extinguisher rated for electrical and grease fires.
Here is a core list to get you started:
- Adjustable wrench, pipe wrench, and pliers
- Screwdriver set (Phillips and flathead) and a utility knife
- Duct tape, silicone tape, and plastic sheeting
- Headlamp, flashlight, and extra batteries
- Work gloves, safety glasses, and a fire extinguisher
Beyond tools, stock consumables: a few towels, a bucket, and a wet/dry shop vacuum if you have one. Include a notebook and pen for documenting damage, and a waterproof pouch for storing receipts and photos. Check your kit every six months, replace expired items, and restock anything you borrow.
First Response: Burst Pipe, Power Outage, and Roof Leak
When a pipe bursts, the first priority is stopping the water flow. Shut off the main water valve immediately. If the burst is on a fixture supply line, close the angle stop under the sink or behind the toilet. Then open a low faucet to drain remaining water and reduce pressure. Use towels and a bucket to contain the mess, and call a plumber. For a slab leak or a pipe inside a wall, shut off the main and call a professional immediately; do not attempt to open walls yourself.
During a power outage, check whether the outage is limited to your home by looking at neighboring houses. If only yours is dark, check the main breaker and any GFCI outlets that might have tripped. If the outage is widespread, unplug sensitive electronics to avoid surge damage when power returns. Keep refrigerator and freezer doors closed to preserve food; a full freezer holds temperature for about 48 hours. Use flashlights, not candles, to prevent fire risk. If the outage lasts more than a day and temperatures are extreme, consider a generator, but never run it indoors or in a garage.
A roof leak demands immediate containment. Move furniture and electronics away from the drip, place buckets underneath, and use plastic sheeting to divert water. If the ceiling is bulging, puncture a small hole in the bulge to release trapped water and prevent a larger collapse. From the ground, look for missing shingles or obvious damage, but do not climb onto a wet roof. Call a roofer for emergency tarping. Document the leak with photos before you place buckets, as this helps with insurance claims.
When to Call an Emergency Contractor vs. Wait for Business Hours
Not every home emergency requires a middle-of-the-night call. Knowing when to escalate saves money and avoids unnecessary panic. Call an emergency contractor immediately for active water leaks you cannot stop, gas odors, electrical burning smells, structural damage like a sagging ceiling, or any situation that poses a safety risk. These are the moments when professional help is not a luxury but a necessity.
On the other hand, a slow drip under a sink, a cracked window, or a broken appliance that is not leaking or sparking can usually wait until morning. Use your emergency kit to contain the issue and schedule a repair during business hours, which is often less expensive. When in doubt, err on the side of safety: a gas leak or electrical hazard is never a wait-and-see situation.
If you need to find a qualified emergency contractor, Homes.Contractors can connect you with pre-vetted local professionals for plumbing, roofing, electrical, and more. You can request multiple free quotes and compare options, even during a crisis. For non-emergency repairs, planning ahead with a directory like PlanRemodel helps you identify trusted contractors before you need them. And for water heater failures, which often strike without warning, our guide on repairing or replacing your water heater walks you through the decision.
Documenting Damage for Insurance Before Repairs Begin
Your insurance claim hinges on evidence. Before you move a single soaked box or tear out damaged drywall, grab your phone and take photos and videos. Capture wide shots of the affected area, close-ups of the damage, and any water lines or stains. If water is actively flowing, photograph the source. Date-stamp the images if possible, and back them up to the cloud immediately.
Keep a running log of everything: the time the damage occurred, the steps you took to mitigate it, and any conversations with contractors or your insurer. Save receipts for emergency supplies, temporary repairs, and hotel stays if you must evacuate. Most policies cover reasonable mitigation costs, but you must document them. Do not throw away damaged items until your adjuster has seen them or instructed you to dispose of them.
Contact your insurance company as soon as it is safe to do so. They can guide you on next steps and may recommend preferred contractors. Remember that your policy may require you to mitigate further damage, so temporary fixes like tarping a roof or shutting off water are often covered. Keep your documentation organized in a waterproof folder or a digital file, and share copies with your adjuster promptly.
Building a Preparedness Plan for Your Household
A kit is only half the equation; a plan turns supplies into action. Sit down with everyone in your home and map out roles. Who shuts off the water? Who grabs the emergency kit? Who calls the insurance company? Write it down and rehearse once a year. Include a contact list with your utility companies, insurance agent, and a few trusted contractors. Keep a copy in your kit and another on the refrigerator.
Identify a safe meeting spot outside the home in case of fire or structural damage. Discuss how to evacuate from each room, and practice with children. If you have pets, include them in the plan with carriers and leashes stored near the kit. For homeowners in areas prone to hurricanes, floods, or wildfires, tailor your plan to those risks: know evacuation routes, keep important documents in a fireproof safe, and consider a generator if outages are common.
Finally, schedule regular maintenance to prevent emergencies before they happen. Inspect hoses on washing machines and dishwashers, test sump pumps before storm season, and clean gutters to prevent roof leaks. A little prevention goes a long way toward keeping your home safe and your emergency kit untouched.
Preparation is not about expecting the worst; it is about being ready to protect what matters most. With the right kit, the knowledge of your shutoffs, and a clear plan, you can face a home emergency with confidence and come out on the other side with minimal damage and a smoother repair process.
Learn more about Handyman for guides, costs, and what to expect.
Compare Handyman Pros Near You
Enter your ZIP code to compare top-rated local professionals and request free quotes.