
What Happens During a Home Inspection When Buying a House
Understand what happens during a home inspection when buying a house. Call 8334393727 for expert contractor guidance on your next steps.

By Grace Ingram
Learn more about Home Inspection for guides, costs, and what to expect.
Compare Home Inspection Pros Near You

Enter your ZIP code to compare top-rated local professionals and request free quotes.
You have found the house. Your offer was accepted. Now comes one of the most critical steps in the entire home buying process: the home inspection. This is your one and only chance, before you sign on the dotted line, to get a professional, unbiased look at the true condition of the property. What happens during a home inspection when buying a house is not just a formality; it is a deep dive into the systems and structures that could cost you thousands of dollars in surprise repairs. Understanding this process transforms you from a passive observer into an informed negotiator, equipped with the knowledge to protect your investment.
The Inspection Timeline: When It Happens and Who Is Involved
Timing is everything. A home inspection typically occurs within a specific contingency period outlined in your purchase agreement, often within 7 to 14 days after your offer is accepted. This window is your due diligence period. As the buyer, you are responsible for scheduling and paying for the inspection, which usually costs between $300 and $600, depending on the size and age of the home. The primary players are you, your real estate agent (who can help coordinate access), and the licensed home inspector you hire.
The inspector's role is not to tell you whether to buy the house. Their job is to provide an objective, visual assessment of the home's condition at the time of the inspection. They are generalists who understand how all the major systems work together. They will identify defects, safety hazards, and items that are near the end of their useful life. It is crucial to remember that a home inspection is not a pass or fail test. It is an information-gathering mission. The findings will inform your next steps, whether that means asking the seller for repairs, renegotiating the price, or, in some cases, walking away.
What Happens During a Home Inspection: A System-by-System Breakdown
On the day of the inspection, you should plan to attend if possible. While the inspector works, you can follow along, ask questions, and learn about the home's maintenance needs. The inspection itself is a thorough, top-to-bottom evaluation. The inspector will spend two to four hours examining the following key areas.
Structural Components and the Exterior
The inspection begins with the foundation and the overall structure. The inspector looks for cracks in the foundation, signs of settling, and the condition of the framing. They will examine the exterior walls, siding, and trim for rot, damage, or improper installation. The roof is a major focus. The inspector will assess the roof covering, flashing, gutters, and downspouts from the ground, the eaves, or even by walking on it if it is safe and accessible. They will note the age of the roof and any signs of leaks or damage that could lead to water intrusion.
Interior Systems: Plumbing, Electrical, and HVAC
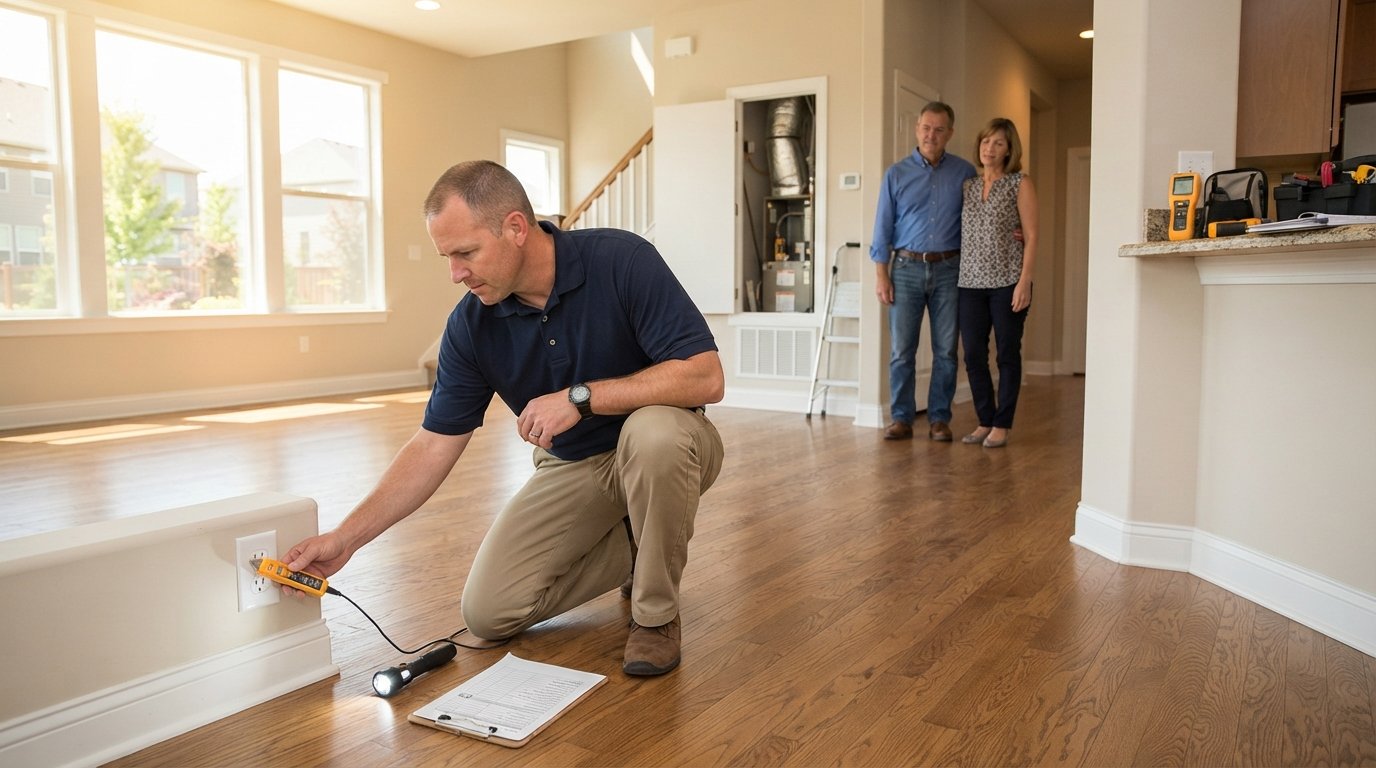
Inside the home, the inspector tests the plumbing system by running faucets, flushing toilets, and checking for leaks and water pressure. They will examine the water heater for its age, condition, and proper venting. The electrical panel is a critical checkpoint. The inspector will look for an adequate amperage, proper wiring, and any signs of overheating or amateur work, such as double-tapped breakers or missing cover plates. They will test a representative number of outlets, switches, and light fixtures. The heating, ventilation, and air conditioning (HVAC) system will be operated to check for proper function. The inspector will note the age of the furnace and air conditioner and look for signs of wear or potential failure.
Attic, Basement, and Insulation
The inspector will access the attic or crawlspace to examine the roof structure, insulation levels, and ventilation. They will look for signs of water penetration, such as stains or mold. In the basement, they will check for moisture, cracks, and the condition of the foundation walls. Proper insulation and ventilation are key to energy efficiency and preventing moisture problems, so these are important details to understand.
Your Inspection Report: Decoding the Findings
After the inspection, you will receive a detailed report, usually within 24 to 48 hours. This report is a comprehensive document, often with photos, that categorizes the findings. It is important to read it carefully, not just skim for the scary items. The report will typically highlight:
- Major Defects: These are serious issues that can be expensive to fix or pose a safety risk, such as a failing foundation, a leaking roof, or a hazardous electrical panel.
- Safety Hazards: Items that could cause injury, such as missing handrails, exposed wiring, or a lack of GFCI outlets in wet areas.
- Minor Issues: Small problems like a dripping faucet, a cracked tile, or a loose outlet that are not critical but should be addressed.
- Maintenance Items: Things that are not broken but will need attention soon, such as caulking around windows or cleaning gutters.
- Deferred Maintenance: Items that have not been maintained and may lead to bigger problems if ignored, like peeling paint or a clogged HVAC filter.
It is easy to feel overwhelmed by a long report. Remember that every home, even a new one, will have some issues. The key is to focus on the big-ticket items and safety concerns. Use the report as a tool to prioritize your negotiations. If you are planning a major renovation after you buy, you might want to check out our cost saving strategies for a whole house renovation to understand how inspection findings could impact your budget.
Using the Inspection to Your Advantage: Negotiation and Next Steps
Once you have the report, the real work begins. This is where you and your real estate agent strategize. You are not obligated to ask for every single item to be fixed. Instead, focus on the significant issues that affect safety, structural integrity, or major systems. You have several options:
- Request Repairs: You can ask the seller to fix specific problems before closing. This is common for safety hazards and major defects.
- Ask for a Credit: Instead of having the seller make repairs, you can request a credit at closing to cover the cost of repairs you will manage yourself. This gives you control over the quality of work.
- Renegotiate the Price: If the inspection reveals substantial issues, you can use them to justify a lower purchase price.
- Walk Away: If the inspection reveals problems that are too extensive or expensive, you may have the right to cancel the contract and get your earnest money back, depending on your contingency.
Your agent will present your requests to the seller's agent. The seller can agree, counter, or refuse. This is a negotiation, and the inspection report is your leverage. It is also a good idea to get quotes from licensed contractors for the work you want done. This not only gives you a realistic cost estimate but also strengthens your negotiation position. For finding qualified professionals, resources like PlanRemodel offer a directory of pre-vetted contractors to help you plan your next steps.
Beyond the Standard Inspection: Specialized Tests to Consider
While the general home inspection covers a wide range of systems, it has limitations. Inspectors are not experts in every field, and they do not perform invasive or destructive testing. Depending on the age, location, and condition of the home, you might consider additional specialized inspections. These are particularly relevant if the general inspector notes a potential issue or if the home has specific features.
- Radon Testing: Radon is a radioactive gas that can cause lung cancer. It is common in many parts of the country. A radon test is relatively inexpensive and highly recommended.
- Mold and Air Quality Testing: If the inspector sees signs of moisture or musty odors, a mold test can determine the extent of the problem.
- Pest Inspection: A termite or pest inspection is often required by lenders and is crucial for detecting wood-destroying insects.
- Chimney Inspection: A Level 2 chimney inspection is recommended for any home with a fireplace, especially if it is older.
- Septic System Inspection: If the home has a septic system, a separate inspection is essential to ensure it is functioning properly.
These additional inspections come at an extra cost, but they can uncover hidden problems that could cost far more in the long run. Discuss with your agent which ones are necessary for your specific situation.
The Value of a Home Inspection: More Than Just a Checklist
A home inspection is an educational experience. It gives you a crash course in the home you are about to buy. By attending and asking questions, you learn about the home's maintenance needs, how to operate its systems, and where the shut-off valves are located. This knowledge is invaluable for your first year of homeownership. It helps you budget for upcoming expenses and plan for future projects, such as a home improvement project that can increase your property's value.
Furthermore, the inspection report serves as a baseline for the home's condition. If you decide to proceed with the purchase, you will have a record of any existing issues. This can be useful for insurance claims or future disputes. It also helps you prioritize your own maintenance tasks. For example, if the inspector notes that the caulking around the windows is deteriorating, you can address it before it leads to water damage. By understanding what happens during a home inspection when buying a house, you take control of one of the most significant financial decisions of your life. It is not just about finding problems; it is about gaining peace of mind and ensuring that your new home is a safe and sound investment.