
How to Inspect a Contractor's Work Before Final Payment
Master how to inspect a contractor's completed work before final payment with our punch list guide. Call (833)-439-3727 for expert help today.

By Alice Miller
Learn more about General Contracting for guides, costs, and what to expect.
Compare General Contracting Pros Near You

Enter your ZIP code to compare top-rated local professionals and request free quotes.
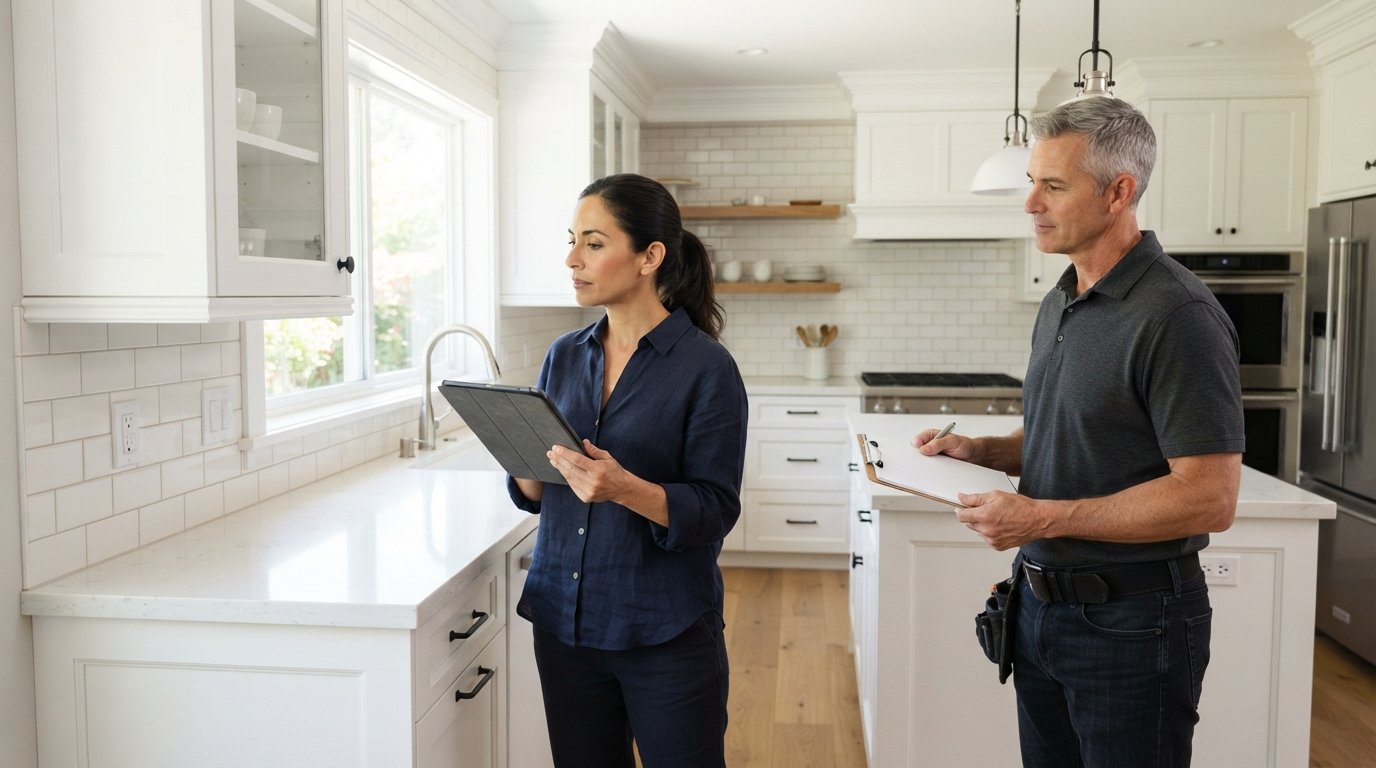
You are standing in your nearly finished kitchen, the cabinets gleam, and the contractor is holding out a clipboard for your signature. Everything looks beautiful at first glance, but that final signature is the key that unlocks your last payment, often 10 to 20 percent of the total project cost. Once that check clears, your leverage to fix defects drops dramatically. Learning how to inspect a contractor's completed work before final payment is not about being paranoid; it is about being a smart, prepared homeowner who protects their investment. This process, often called a punch list walkthrough, is your last and best chance to ensure the job is done right, from the plumbing behind the walls to the paint on the trim.
Start With a Detailed Punch List and Photo Documentation
Before the final walkthrough, you need a system. A punch list is simply a comprehensive list of items that are incomplete, incorrect, or damaged. Do not rely on memory. Create a document that you can carry with you, either on paper or on a tablet. The most effective way to build this list is to go room by room, system by system, and document everything with dated photos. Photos are crucial because they provide irrefutable evidence of the condition of the work at the time of inspection, which is invaluable if a dispute arises later.
Start your inspection from the moment you walk in the door. Look at the big picture first, then zoom in. A good practice is to create a checklist template divided by area: exterior, living room, kitchen, bathrooms, bedrooms, and utility areas. For each area, you will check specific elements like walls, floors, ceilings, doors, windows, and fixtures. As you find issues, write them down immediately and take a photo. For example, if you see a scratch on a newly installed hardwood floor, photograph it with a ruler or a coin for scale. If a cabinet door is misaligned, take a photo and note it. This detailed approach turns a vague feeling of unease into a concrete, actionable list that a contractor can address.
Here is a sample framework to help you organize your room-by-room inspection:
- Walls and Ceilings: Check for visible seams, nail pops, uneven texture, and paint drips. Look for cracks around door frames and windows.
- Flooring: Inspect for scratches, gaps, squeaks, and uneven transitions between different materials. Ensure tile grout lines are consistent and sealed.
- Doors and Windows: Open and close every door and window. They should operate smoothly without sticking. Check the locks and weatherstripping.
- Fixtures and Finishes: Test every light switch, outlet, faucet, and appliance. Look for scratches on countertops and sinks.
Once your list is complete, review it with a critical eye. Distinguish between minor cosmetic issues (like a small paint touch-up) and functional defects (like a leaky faucet or an outlet that does not work). Both belong on the list, but functional issues are non-negotiable and must be fixed before final payment is released.
Conduct a Functional and Systems Inspection
Cosmetic issues are easy to spot, but the real test of a contractor's work is in the systems you cannot see. This is where a thorough inspection can save you thousands of dollars in future repairs. You need to actively test the plumbing, electrical, and HVAC systems that were part of the project scope. Do not just assume they work because they look new.
For plumbing, turn on every faucet and shower. Check for consistent water pressure and proper drainage. Look under sinks for any signs of leaks or moisture around the pipes and connections. Flush every toilet to ensure it operates correctly and does not run continuously. If a new water heater was installed, check that it is properly vented and that the temperature and pressure relief valve is in place. For electrical work, use a simple outlet tester (available at any hardware store) to check every outlet. Test all light switches and ensure they control the intended fixture. Open the electrical panel and verify that the breakers are clearly labeled. If any new appliances were installed, run them through a full cycle to ensure they function correctly.
Pay special attention to the details that are often overlooked. Look at the caulking around bathtubs, sinks, and windows. It should be smooth, continuous, and free of gaps. Check the paint lines where the wall meets the ceiling or trim; they should be crisp, not wavy or bleeding onto adjacent surfaces. Examine the flooring transitions, such as where tile meets hardwood or carpet. These transitions should be secured with a proper threshold or trim piece, not just butted together. These small details are often the difference between a professional job and an amateur one. When you are looking for a reliable professional for your next project, resources like finding trusted renovation contractors can help you set the right expectations from the start.
The Final Walkthrough Meeting With Your Contractor
The final walkthrough is a collaborative meeting, not a confrontation. Schedule it in advance and make sure the contractor or a senior project manager attends. Bring your punch list and photos. The goal is to review the work together, item by item, and agree on what needs to be fixed or completed. This is also your opportunity to ask questions about the work and to get a demonstration of any new systems or appliances.
During the walkthrough, be clear and specific. Instead of saying "the paint looks bad," point to the specific wall and say, "There is a visible roller mark here and a paint drip on the baseboard." Use your list to guide the conversation. The contractor should be taking their own notes and should commit to a timeline for completing the punch list items. It is reasonable to ask for a written agreement that the final payment will be released only after all items on the punch list are satisfactorily addressed and verified by you.
This is also the time to collect all closeout documents. Do not accept verbal promises. You need the warranty paperwork for all materials and appliances, such as the shingles, the water heater, the flooring, and the paint. Ask for the manufacturer's care and maintenance instructions. You should also receive a lien waiver from the contractor and any major subcontractors, which confirms they have been paid for their work and materials. This protects you from a mechanic's lien being placed on your property by an unpaid supplier. Finally, ask for a final copy of the plans and any permits that were closed out by the local building department. If you are planning a larger project, consider using a platform like PlanRemodel to find pre-vetted professionals and manage the documentation process more smoothly.
When to Withhold Final Payment and Holdback Rules
The final payment is your most powerful tool. It is completely reasonable and standard practice to withhold final payment until the punch list is complete. However, you must be fair. You cannot withhold payment for items that are outside the scope of the contract or for normal wear and tear. The key is to distinguish between a punch list (small, incomplete items) and a substantial completion (the project is usable for its intended purpose).
If the contractor has completed the majority of the work but there are a few outstanding items, you can release a portion of the final payment and hold back a reasonable amount, often 150 percent of the estimated cost to fix the remaining items. This is called a holdback. It provides an incentive for the contractor to return and finish the job. For example, if a bathroom faucet is dripping and the estimated cost to fix it is $100, you might hold back $150. This ensures you are covered if the contractor has to hire a plumber to fix it. However, you must put this agreement in writing. Document the amount being held back and the specific conditions that must be met for its release.
If the contractor refuses to complete the punch list or the work is significantly defective, you may need to withhold the entire final payment. In this situation, do not just keep the money. Send a written notice via email or certified mail outlining the specific unresolved issues and giving the contractor a reasonable deadline to complete them. If they fail to respond or resolve the issues, you may need to consult with a lawyer or a mediator. Your contract should have a dispute resolution clause. Remember, the goal is to get the work done correctly, not to keep the money. The holdback is a tool to ensure completion, not a penalty.
Closeout Documents: Warranty and Maintenance Instructions
Getting the keys to a finished room is exciting, but the project is not truly complete until you have the paperwork. The warranty is your safety net for the future. Make sure you receive the manufacturer's warranty for every product installed, from the exhaust fan to the flooring. Read the warranty terms to understand what is covered and for how long. Also, get the contractor's own workmanship warranty in writing. This should state how long they guarantee their labor and what they will do if a problem arises.
In addition to warranties, you should collect a folder of maintenance instructions. This includes how to care for your new surfaces, such as the type of cleaner to use on the countertops or how to clean the grout on the tile. For HVAC systems, ask for the filter size and a recommended maintenance schedule. For plumbing fixtures, keep the manufacturer's care guides. This information is vital for keeping your new investment in top condition and for ensuring your warranty remains valid. A professional contractor will have this package ready for you. If they do not, ask for it. It is a standard part of a professional closeout.
Inspecting a contractor's completed work before final payment is a critical step that protects your home and your wallet. By building a thorough punch list, testing all systems, conducting a formal walkthrough, and understanding your right to hold back funds, you ensure that the project is finished to your satisfaction. Remember to collect all warranties and maintenance guides, and do not release the final payment until every item on your list is checked off. This process transforms you from a passive observer into an empowered homeowner who commands respect and gets the quality work they paid for.