
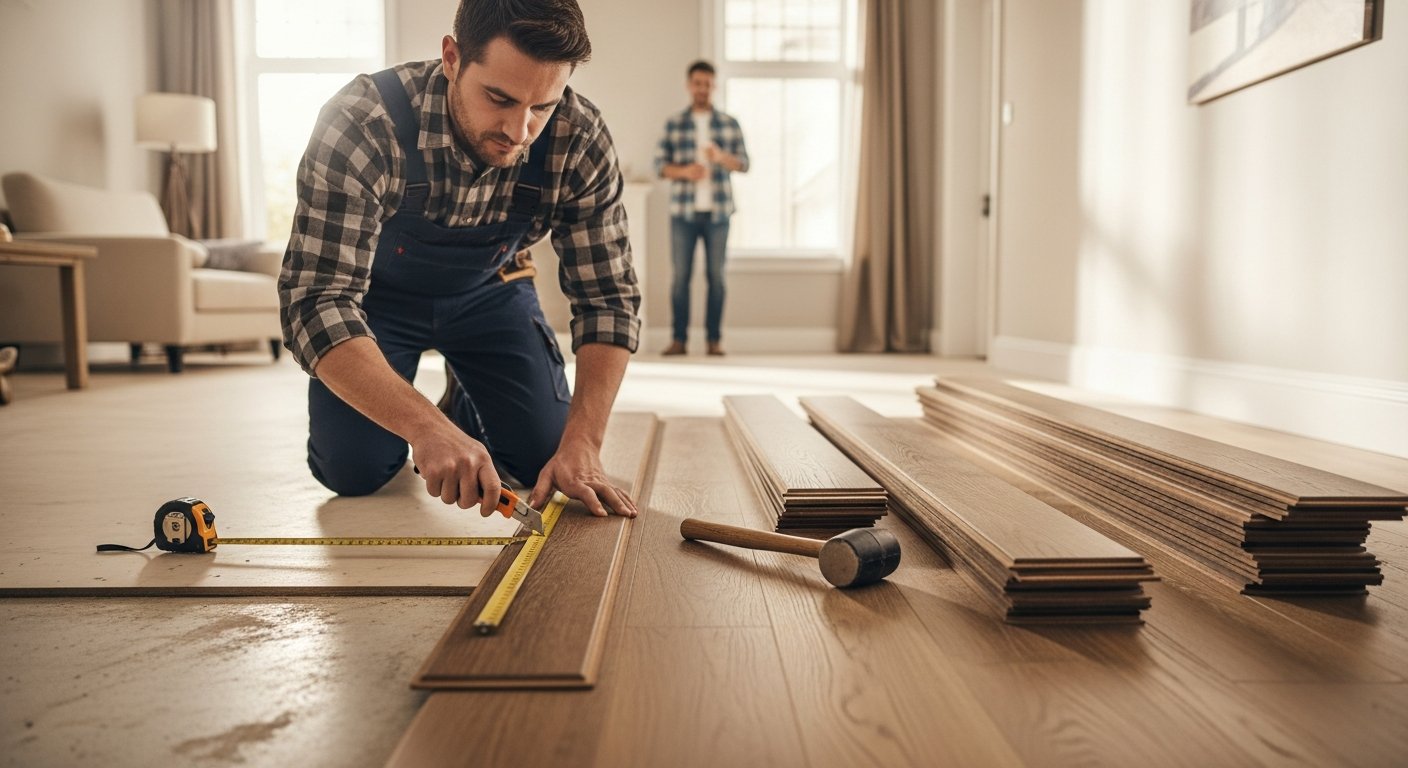
Flooring Installation: 7 Steps to a Flawless Finish
A step-by-step guide to flooring installation, covering material selection, budgeting, contractor hiring, and maintenance for a flawless finish.
By Alexia Mabel
Learn more about Floor Installation or Replacement for guides, costs, and what to expect.
Compare Floor Installation or Replacement Pros Near You

Enter your ZIP code to compare top-rated local professionals and request free quotes.
Few home improvement projects transform a space as dramatically as new flooring. Whether you are replacing worn carpet, upgrading to hardwood, or installing tile in a kitchen, the result changes the entire feel of your home. Yet the process can feel intimidating, from choosing materials to ensuring the final result is level and durable. The good news is that a successful flooring installation comes down to preparation, the right professional, and a clear understanding of what to expect.
This guide walks you through the entire journey, from planning and budgeting to working with a contractor and maintaining your new floors. You will learn how to avoid common mistakes, what questions to ask, and how to get the best value for your investment. By the end, you will feel confident making decisions that lead to beautiful, long-lasting floors.
Why Professional Flooring Installation Matters
Many homeowners consider DIY flooring to save money, but the complexity of modern materials and subfloor preparation often leads to costly errors. A professional installer brings experience, specialized tools, and an understanding of building codes that ensures your floor not only looks great but also performs well for decades. For example, hardwood requires acclimation to your home's humidity, and tile needs a perfectly flat substrate to prevent cracking. These are details that a seasoned contractor handles routinely.
Hiring a pro also protects your warranty. Most flooring manufacturers require professional installation to validate their product warranty, meaning a DIY job could void coverage if something goes wrong. Additionally, professionals carry liability insurance, so if an accident happens, you are not responsible. When you weigh the cost of materials, tools, and potential mistakes, professional installation often proves more economical in the long run.
Finally, a professional can guide you through material selection based on your lifestyle. Do you have pets or children? High-traffic areas? Moisture-prone rooms like basements? A contractor can recommend products that balance aesthetics with durability, saving you from choosing a beautiful but impractical option that will need replacement sooner than expected.
How to Choose the Right Flooring Material
Before any installation begins, you must decide what type of flooring fits your needs and budget. Each material has unique characteristics, maintenance requirements, and costs. Here is a breakdown of popular options to help you narrow down your choices.
- Hardwood: Timeless and durable, hardwood adds value to your home. Solid wood can be refinished multiple times, while engineered wood offers better moisture resistance. Cost ranges from $6 to $15 per square foot installed.
- Laminate: A budget-friendly alternative that mimics wood or stone. It is scratch-resistant and easy to install, but it cannot be refinished and may feel less authentic. Cost: $3 to $8 per square foot.
- Luxury Vinyl Plank (LVP): Waterproof, comfortable underfoot, and available in realistic wood looks. Ideal for basements, kitchens, and bathrooms. Cost: $4 to $10 per square foot.
- Tile (Ceramic or Porcelain): Excellent for moisture-prone areas, offering endless design options. It is heavy and requires a perfectly flat subfloor. Cost: $5 to $15 per square foot.
- Carpet: Soft and warm, carpet is great for bedrooms and living areas. It requires regular vacuuming and professional cleaning, and it wears out faster than hard surfaces. Cost: $3 to $8 per square foot.
Once you have selected a material, order samples and place them in your home for a few days. Observe how they look in different lighting conditions and against your wall colors. This simple step prevents costly color mismatches. Also, consider the ecological impact: bamboo and cork are sustainable options that offer durability and a unique aesthetic.
Your choice will also affect the installation timeline. Carpet and vinyl can often be installed in a day, while hardwood and tile may take several days due to subfloor prep, acclimation, or curing times. Factor this into your project schedule and budget for temporary disruptions to your daily routine.
Planning Your Flooring Installation Budget
Understanding the full cost of a flooring project goes beyond the price per square foot of the material. You must account for subfloor preparation, underlayment, trim, transitions, and removal of old flooring. A professional estimate should itemize these expenses, so you are not surprised by hidden fees. On average, homeowners spend between $1,500 and $5,000 for a single room, but this can vary widely based on material and labor rates in your region.
To avoid budget overruns, request quotes from at least three contractors. Each quote should include a detailed breakdown of materials, labor, and any additional charges such as moving furniture or disposing of old flooring. Be wary of quotes that are significantly lower than others, as they may indicate subpar materials or inexperienced labor. Conversely, the highest quote is not always the best; evaluate what each contractor offers in terms of warranty and workmanship guarantees.
Set aside a contingency fund of 10% to 20% of the total project cost. This cushions you against unexpected issues like discovering water damage or an uneven subfloor after the old flooring is removed. A reputable contractor will flag these problems before installation, but having a financial buffer ensures you can address them without delaying the project. Remember, investing in quality underlayment and subfloor repair now prevents costly problems later.
Preparing Your Home for Installation Day
Proper preparation minimizes disruption and protects your belongings. Start by clearing the room of all furniture, rugs, and decor. If you cannot move large items like pianos or heavy dressers, inform your contractor in advance so they can plan accordingly. Remove curtains and wall hangings to prevent dust from settling on them, and cover doorways with plastic sheeting to contain dust in the work area.
Check that the contractor has clear access to the room and to electrical outlets if they need to power tools. If you have pets, arrange for them to stay in a safe, quiet area away from the work zone. The noise and strangers can stress animals, so a separate room or a day at a boarding facility is ideal. Also, ensure the temperature and humidity in your home are within the range recommended by the flooring manufacturer, as materials need stable conditions for proper installation.
Finally, discuss the work schedule with your contractor. Ask what time they will arrive, how long the installation will take, and if there are any periods when you need to be present. Most contractors will give you a clear timeline, but it is wise to confirm whether they will need access to water or a bathroom. Clear communication before the start of work sets the stage for a smooth process.
The Flooring Installation Process: Step by Step
Knowing what happens during installation helps you monitor progress and ask informed questions. While each material has specific requirements, the general sequence is consistent across most projects.
- Subfloor Inspection and Prep: The contractor checks for levelness, moisture, and damage. They may use a self-leveling compound or sand down high spots. This is the most critical step for a long-lasting floor.
- Acclimation: Hardwood, laminate, and vinyl planks need time to adjust to your home's temperature and humidity. This can take 48 to 72 hours, so plan accordingly.
- Underlayment Installation: A thin layer of foam, felt, or rubber is laid down to provide moisture protection, sound insulation, and a slight cushion. This is essential for floating floors and recommended for most other types.
- Main Flooring Installation: The material is laid according to the manufacturer's guidelines. For nail-down floors, the contractor uses a pneumatic stapler. For glue-down or floating floors, they follow specific adhesive or locking mechanisms.
- Cutting and Fitting: The installer cuts planks or tiles to fit around doorways, corners, and obstacles. Precision here ensures a clean, professional look.
- Trim and Transition Installation: Baseboards, quarter-round, and transition strips are installed to cover expansion gaps and create smooth transitions between rooms.
- Final Cleanup and Inspection: The contractor removes debris, vacuums dust, and walks you through the completed work to ensure your satisfaction.
Throughout the process, do not hesitate to ask questions or point out concerns. For example, if you notice a gap or a raised edge, mention it immediately. It is much easier to correct issues while the installer is still on site. After the work is done, request the manufacturer's care instructions and any warranty documents.
Once installation is complete, wait the recommended time before walking on the floor or moving furniture back in. For glue-down installations, this may be 24 hours. For tile, grout needs time to cure. Your contractor will give you specific guidelines, so follow them closely to avoid damaging your new investment.
Working with a Flooring Contractor: What to Ask
Choosing the right contractor is as important as the material. A skilled professional ensures the job is done right the first time, saving you money and stress. Start by searching for local, licensed, and insured contractors. Online directories like Homes.Contractors can connect you with pre-vetted professionals in your area and allow you to read reviews from other homeowners.
When you interview potential contractors, ask specific questions about their experience with your chosen material. Request references from recent projects similar to yours and follow up with those homeowners. Ask about their process for handling subfloor issues and whether they provide a written warranty on labor. A confident contractor will gladly answer these questions and provide proof of insurance and licensing.
Comparing quotes is essential, but do not choose solely on price. Look at the scope of work, the quality of materials specified, and the contractor's communication style. A contractor who is responsive and transparent during the quoting process is likely to be the same during the project. Also, check if they offer a clean-up service and whether they dispose of old flooring. These details can affect your overall experience and final cost.
Once you select a contractor, get everything in writing. The contract should include the project timeline, payment schedule, specific materials and brands, and a clause about change orders. This protects you if unexpected issues arise and ensures there are no misunderstandings. Do not make a full payment upfront; a typical deposit is 10% to 20%, with the balance due upon completion.
Common Flooring Installation Mistakes to Avoid
Even with a professional installer, being aware of common pitfalls helps you avoid them. One frequent mistake is ignoring moisture testing, especially for concrete subfloors. Excess moisture can warp wood and cause vinyl to lift. Another is failing to acclimate materials properly, which leads to gaps or buckling after installation. Your contractor should handle these steps, but you should confirm they are being done.
Another error is choosing a material that is not suited for the room's function. For example, solid hardwood in a basement or a bathroom is a recipe for trouble. Similarly, installing carpet in a high-moisture area like a laundry room can lead to mold. Always match the flooring to the environment, not just the aesthetic.
Finally, do not neglect the expansion gap. Floors need room to expand and contract with temperature changes. If the installer leaves too little gap against walls, the floor can buckle. Trim and transition strips cover these gaps, so they are not visible, but they are essential for the floor's longevity. Trust your contractor's expertise, but feel free to ask how they are handling expansion.
Maintaining Your New Floors for Longevity
Your new floors will last for years if you care for them properly. Start with a regular cleaning routine that suits the material. For hardwood, use a dry mop or a vacuum with a hard floor attachment, and only clean with a damp mop using a product recommended by the manufacturer. Avoid excessive water, which can damage wood. For tile, sweep or vacuum to remove grit that can scratch the surface, and clean with a pH-neutral cleaner.
For all floor types, place mats at entrances to trap dirt and moisture. Use felt pads under furniture legs to prevent scratches, and avoid dragging heavy items. In kitchens and bathrooms, wipe up spills immediately to prevent staining or moisture damage. For carpet, vacuum regularly and attend to spots as soon as they occur. Professional cleaning every 12 to 18 months will refresh fibers and extend its life.
Also, follow any specific care instructions provided by the manufacturer. Some hardwood floors require periodic refinishing after several years, while laminate and LVP simply need to be replaced when worn. Understanding the lifespan of your flooring helps you budget for future maintenance or replacement. With proper care, your investment will continue to enhance your home's beauty and value.
When to Replace vs. Repair Your Flooring
There comes a time when repairs are no longer cost-effective. If your flooring has widespread water damage, deep scratches, or structural issues like buckling, replacement is often the better choice. On the other hand, minor scratches on hardwood can be buffed out, and a few cracked tiles can be replaced individually. Assess the extent of the damage and the age of the floor. If repairs exceed 50% of the replacement cost, it is usually wiser to install new flooring.
Another factor is the remaining lifespan of the material. Carpet typically lasts 10 to 15 years, while hardwood can last 100 years if maintained. If your carpet is nearing the end of its life and showing wear, replacement is a smart investment. Similarly, if your tile is outdated but structurally sound, you might consider refacing rather than full replacement. A professional can help you evaluate your options.
When you decide on replacement, consider donating usable materials to a reuse center. This reduces waste and may provide a tax deduction. Your contractor can advise on the best way to dispose of old flooring. Replacing flooring is a significant project, but it offers a fresh start and a chance to create the home you have always wanted.
Before you start, use a service like Homes.Contractors to connect with vetted flooring professionals in your area. Getting multiple quotes through the platform ensures you find a contractor who fits your budget and project needs. With the right team and a clear plan, your flooring installation will be a smooth, rewarding experience.
Learn more about Floor Installation or Replacement for guides, costs, and what to expect.
Compare Floor Installation or Replacement Pros Near You
Enter your ZIP code to compare top-rated local professionals and request free quotes.