
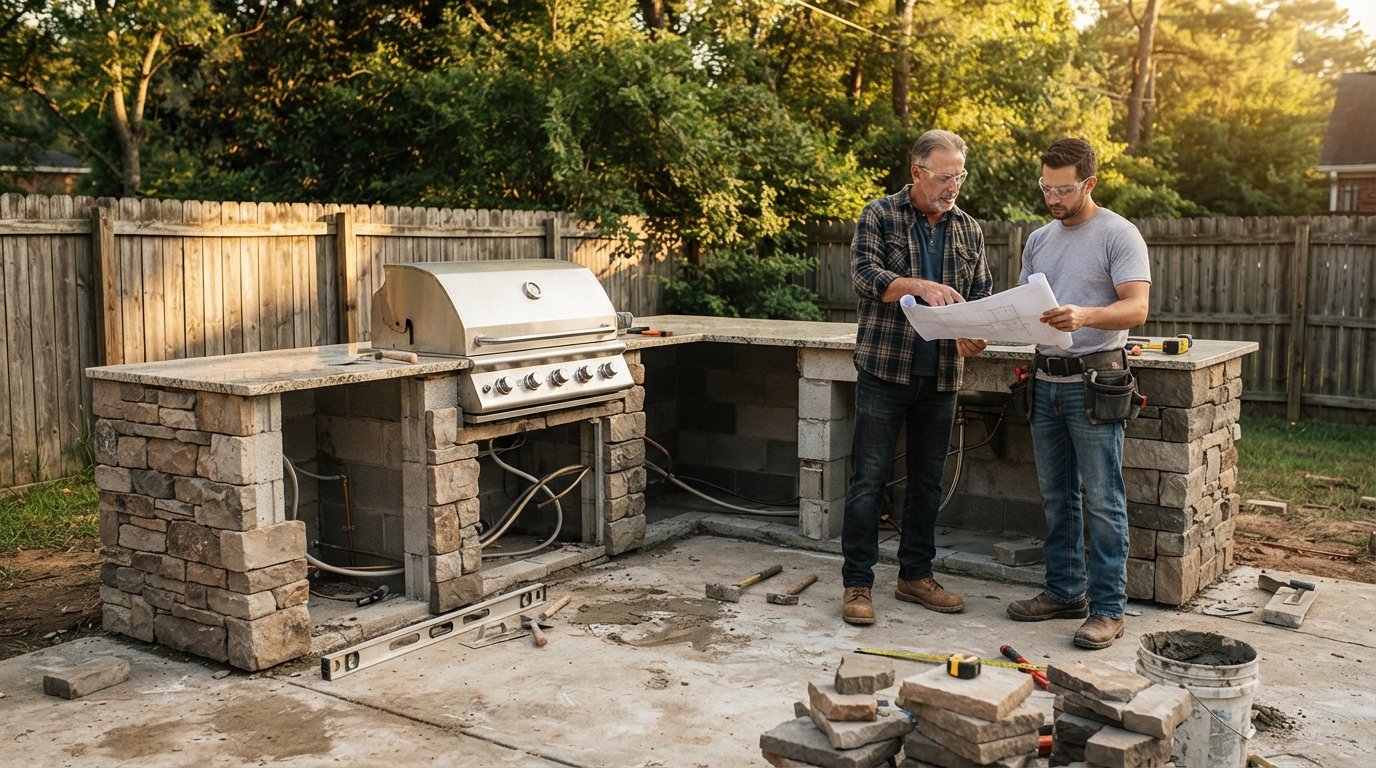
Outdoor Kitchen Installation Cost & Hiring a Contractor
Plan your outdoor kitchen with confidence: real cost ranges, contractor hiring steps, and smart budgeting tips to avoid surprise bills.
By Danica Leslie
Learn more about Kitchen Remodel for guides, costs, and what to expect.
Compare Kitchen Remodel Pros Near You

Enter your ZIP code to compare top-rated local professionals and request free quotes.
Building an outdoor kitchen transforms your backyard into a functional extension of your home, creating a space for cooking, dining, and entertaining that you can enjoy for years. But before you picture yourself grilling steaks under the stars, you need a clear picture of what this project actually costs and how to hire the right professional to build it. The numbers can swing wildly depending on materials, appliances, and whether you are extending gas and water lines. This guide breaks down real-world pricing, explains where your money goes, and walks you through the contractor hiring process step by step. By the end, you will know how to budget confidently and avoid the most common pitfalls that turn a dream project into a headache.
What Drives the Cost of an Outdoor Kitchen Installation
The total price of an outdoor kitchen installation depends on several interconnected factors. The most significant variables are the size of the kitchen, the materials you choose for countertops and cabinetry, the appliances you want to incorporate, and the complexity of utility connections. A simple grill station with a small counter can cost a few thousand dollars, while a full outdoor kitchen with a built-in grill, refrigerator, sink, pizza oven, and bar seating can exceed $50,000. Location matters too: a kitchen on an existing patio slab is far cheaper to install than one requiring new concrete, decking, or extensive electrical work.
Labor is another major cost driver. Skilled tradespeople, including masons, electricians, plumbers, and carpenters, all contribute to the final bill. The more custom your design, the more labor hours required. If you want to understand how labor and material costs break down for home improvement projects in general, our guide on labor vs material cost explained provides a useful framework that applies directly to outdoor kitchen budgets. Understanding that split helps you evaluate contractor estimates more intelligently and spot when a quote seems out of line.
Permits and inspections also add to the cost. Many municipalities require permits for gas, electrical, and plumbing work, and some require a building permit for any permanent structure. Permit fees vary widely by location but typically range from $100 to $500. Skipping permits can lead to fines, forced removal, and problems when you sell your home, so always factor them into your budget. The bottom line is that outdoor kitchen installation cost is not a single number but a range shaped by your specific choices and site conditions.
Cost Ranges by Project Scope and Material
To give you a realistic starting point, it helps to look at common project tiers. These ranges reflect national averages for materials and labor, but your local market may be higher or lower. Use them as a planning tool, not a precise quote.
- Basic grill station: $3,000 to $8,000. Includes a pre-fabricated or simple masonry base, a built-in or drop-in grill, and a small countertop. No sink or refrigerator.
- Mid-range outdoor kitchen: $8,000 to $20,000. Adds a larger counter, a side burner, a compact refrigerator, and sometimes a sink with running water. Materials often include granite or quartz countertops and stainless steel appliances.
- High-end custom kitchen: $20,000 to $50,000+. Features premium appliances (pizza oven, kegerator, ice maker), natural stone or poured concrete counters, custom cabinetry, bar seating, lighting, and full utility connections.
- Luxury resort-style kitchen: $50,000 to $100,000+. Includes multiple cooking zones, wood-fired oven, outdoor fireplace, pergola or roof structure, and integrated audio-visual systems.
Material choice has an enormous impact. Stainless steel cabinets cost more than wood but last longer outdoors. Concrete countertops are affordable but require sealing; natural stone is beautiful but expensive. Appliances alone can consume 30 to 40 percent of your budget if you choose professional-grade brands. Always get at least three quotes to see how local contractors price similar scopes of work. FreeQuotes.Contractors offers a free quote request system that connects you with pre-vetted local professionals, making it easy to compare bids side by side.
Remember that these ranges assume the site is relatively flat and has easy access to utilities. If you need to run a gas line 50 feet from the house or add a new electrical subpanel, expect to add several thousand dollars. The same goes for drainage, footings, and retaining walls if your yard slopes.
How to Hire a Contractor for Your Outdoor Kitchen
Hiring the right contractor is the single most important decision you will make for this project. A skilled professional will guide you through design, permitting, and construction, while a poor choice can lead to delays, cost overruns, and shoddy workmanship. Start by defining your project scope and budget in writing. Then seek out contractors who specialize in outdoor living spaces, not just general handymen. You can ask for referrals from neighbors, check online directories, or use a platform like Homes.Contractors to find pre-vetted professionals in your area.
Once you have a list of candidates, narrow it down by verifying credentials. Here is a checklist you can follow:
- Check licensing: Confirm the contractor holds a valid license for the work being performed. In many states, outdoor kitchen construction requires a general contractor license, and gas and electrical work require specialized licenses.
- Verify insurance: Ask for a certificate of insurance showing general liability and workers compensation coverage. This protects you if someone is injured on your property or if property damage occurs.
- Review past projects: Ask for photos and addresses of recent outdoor kitchens they have built. If possible, visit a completed project to inspect the quality of masonry, cabinetry, and appliance installation.
- Request references: Speak with at least two past clients about their experience with communication, timeline, and budget adherence.
- Get everything in writing: A detailed contract should include scope of work, materials, timeline, payment schedule, warranty terms, and a process for handling change orders.
After you have narrowed the field, request itemized bids. An itemized bid breaks down labor, materials, permits, and any subcontractor costs, which makes it easier to compare apples to apples. Be wary of a bid that is dramatically lower than the others; it often means the contractor missed something or plans to cut corners. Similarly, a very high bid is not automatically better. Look for a contractor who asks thoughtful questions about how you plan to use the space, because that shows they are invested in getting the details right.
Understanding the Contractor Bid and Avoiding Red Flags
Once bids start coming in, you will notice significant variation. Some contractors will provide a lump-sum price, while others break down every line item. For a project as complex as an outdoor kitchen, an itemized bid is preferable because it lets you see where your money is going and negotiate specific elements if needed. Pay attention to exclusions: does the bid include permits, debris removal, utility connections, and finishing touches like lighting and sealing? A missing item can become a costly change order later.
Red flags to watch for include contractors who demand a large upfront payment (more than 10 to 20 percent), refuse to provide a written contract, or pressure you to sign quickly. Also be cautious of anyone who cannot provide a physical business address or who asks you to pull your own permits. In most jurisdictions, the contractor must pull the permit because they are responsible for code compliance. If a contractor suggests skipping permits to save money, walk away. The risks far outweigh any short-term savings.
Another common issue is scope creep. As the project progresses, you may be tempted to add features, or the contractor may suggest upgrades. Each change should be documented in a written change order that specifies the additional cost and any timeline impact. Never rely on verbal agreements. A clear change order process protects both parties and keeps your budget on track.
Payment Schedules and Financing Options
Outdoor kitchen projects typically follow a milestone-based payment schedule. A common arrangement is 10 percent deposit at signing, 30 percent when materials are delivered, 30 percent at rough-in completion, 20 percent at substantial completion, and 10 percent final payment after all punch-list items are finished. Some contractors may propose different splits, but the principle is the same: payments should be tied to progress, not to arbitrary dates. Never pay the full amount upfront, and always hold back a final payment until you have inspected the work and confirmed that all permits are closed.
If you need to spread out the cost, several financing options exist. Home equity loans or lines of credit often offer competitive rates and potential tax advantages. Personal loans are another option but may have higher interest rates. Some contractors offer in-house financing, though you should compare terms carefully. For larger projects, a cash-out refinance might make sense if you can secure a lower rate. Whatever route you choose, make sure the monthly payment fits comfortably within your budget. An outdoor kitchen is a luxury upgrade, not a necessity, so avoid taking on debt that strains your finances.
Timeline, Permits, and What to Expect During Construction
A typical outdoor kitchen installation takes two to six weeks from start to finish, depending on complexity and weather. The process usually begins with design and permitting, which can take one to three weeks on its own. Once permits are approved, the contractor will schedule the work. Site preparation and utility rough-in come first, followed by masonry or cabinet installation, then countertops, appliances, and finishing touches. Expect some noise and dust, and plan for your backyard to be off-limits during active construction.
Permits are a critical part of the timeline. Your contractor should handle the application and schedule inspections at the appropriate stages. Electrical and gas inspections typically happen after rough-in but before walls are closed up. A final inspection occurs at the end. Do not let anyone convince you to skip inspections; they are there to ensure safety and code compliance. If you live in an area with a homeowners association, you may also need architectural review approval before starting. Check those requirements early to avoid delays.
Weather can affect the schedule, especially for masonry and concrete work. Rain can delay curing, and extreme heat can make it uncomfortable for workers. A reputable contractor will build some buffer into the timeline and communicate proactively if delays occur. Keep a folder with your contract, change orders, permits, and inspection reports. This documentation is invaluable if a dispute arises or if you sell your home and need to show that the work was done legally.
Making Your Outdoor Kitchen Project a Success
An outdoor kitchen is a significant investment, but it can also be a rewarding one that enhances your lifestyle and potentially adds value to your home. The key to a smooth experience is thorough planning and careful contractor selection. Start by establishing a realistic budget that includes a contingency fund of 10 to 15 percent for unexpected costs. Then invest time in finding a contractor who communicates clearly, provides detailed bids, and has a proven track record with outdoor living spaces.
Remember that the lowest bid is not always the best value. Look for a balance of quality, experience, and price. Ask questions, check references, and trust your instincts. If something feels off during the interview process, it will likely feel worse during construction. By taking a methodical approach to outdoor kitchen installation cost and hiring a contractor, you set yourself up for a beautiful, functional space that you will enjoy for many seasons to come. FreeQuotes.Contractors